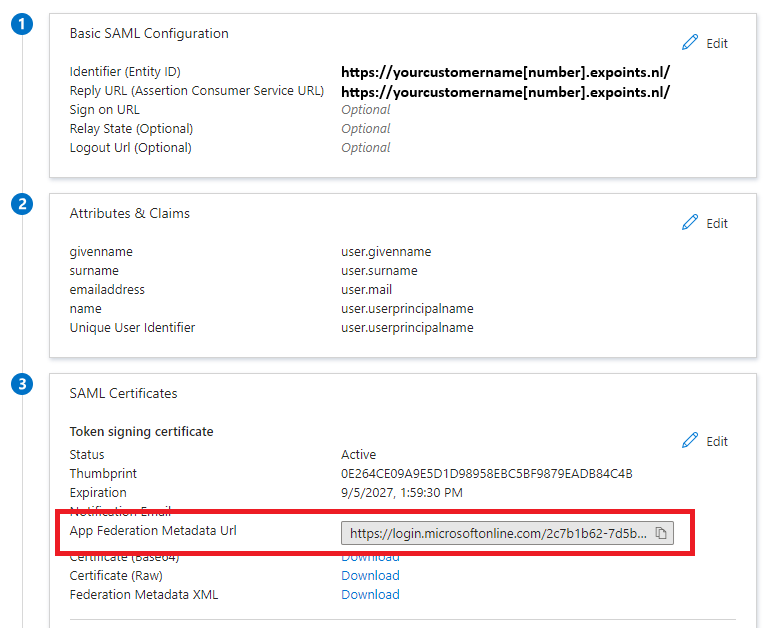
What needs to be configured
Relying Party Trusts
The following PT should be created
- https://yourcustomername[number].expoints.nl/
The following steps should be repeated for every RPT.
This example shows the setup wizard for the https://
yourcustomername[number].expoints.nl/ RPT.

- Press start
-
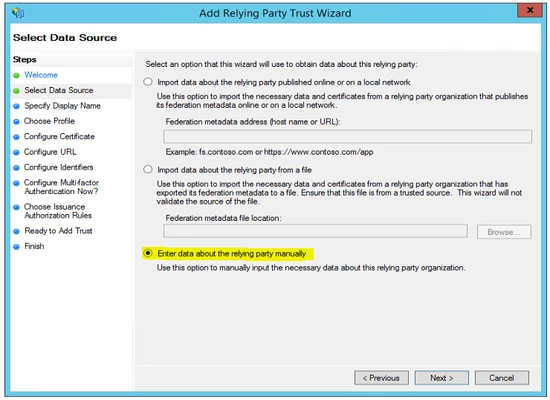
Select Enter data about the relying party manually
- Enter a Display Name and optional notes.
- Select the AD FS profile
- We do not use an optional certificate for the token encryption, press next.
-
Select Enable support for the WS-Federation Passive protocol and enter the address in the format of https://yourcustomername[number].expoints.nl/.
Select Enable support for the SAML 2.0 Web SSO protocol and enter the address in the format of https://yourcustomername[number].expoints.nl/ .

-
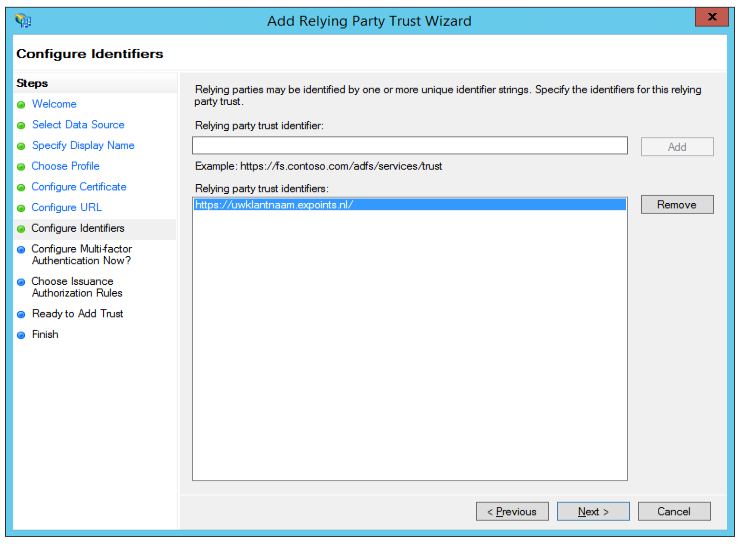
Enter a Relying party trust identifier, if this is not already added, in the format of https://yourcustomername[number].expoints.nl/
- (Optional) Configure multi-factor authentication.
-
Configure authorizations for users (this is company dependent).
We will configure Permit all users to access this relying party.
- Here you can check your configuration.
- The following is selected by default and we will leave it selected: Open the Edit Claim Rules dialog for this relying party trust when the wizard closes.
- Click close to create the RPT. The Edit Claim Rules screen will open, for which the next chapter will discuss the instructions.
Edit Claim Rules
For a successful connection with Expoints, the following claims are expected
- name (username)
- e-mail (not mandatory, but this will affect some functionality in the dashboard)
- name id (only mandatory for SAML connection)
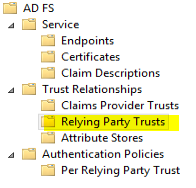
To create claims, go to the Relying party trusts:
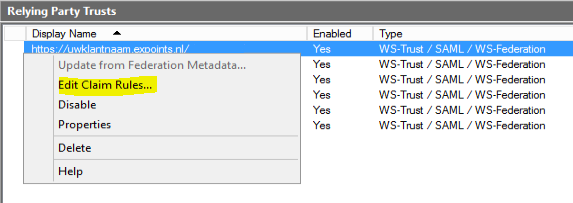
- Click Add Rule...
- Select Send LDAP Attributes as Claims
- Enter a rule name in and select Active Directory at Attribute store
- Select a LDAP attribute for the Name claim. In this example we will use the email address.*
- Select Name at Outgoing Claim Type.
- Repeat steps 4 en 5 for additional claims
- Click Finish
* Note: It is important that the Outgoing Claim Type
Name contains the Expoints username.
(optional) Roles
Expoints support the assignment of role(s) based on the "Role" claim. The role claim can be provided multiple times.
This first needs to be enabled in Expoints before use.
* Note: the name of the role in the claim must match with a role configured in Expoints.
Additional steps for the SAML protocol
Configure SAML Logout Endpoint
For the SAML protocol a Logout Endpoint needs to be configured.
- Select properties by right-clicking your connection at the Relying Party Trusts list.
- Go to the Endpoints tab and click the Add SAML... button at the bottom.
- Select SAML Logout as Endpoint type
- Select POST at the Binding drop down.
- For the Trusted URL, the same URL is used as the Relying party. In our example https://yourcustomername[number].expoints.nl/.
- At the Response URL, the URL is entered where you want AD FS to redirect after the logout.
If you redirect to the Expoints application, Expoints will redirect back to the login screen. At this point users can choose to login again. This will take them back to the application.
